
Credential administrator quick start
This guide helps a new credential administrator set up organizations, credential definitions, and awards, then connect events to QR workflows. It is a quick start for everyday setup and first use. Insert your existing links and screenshots where noted.
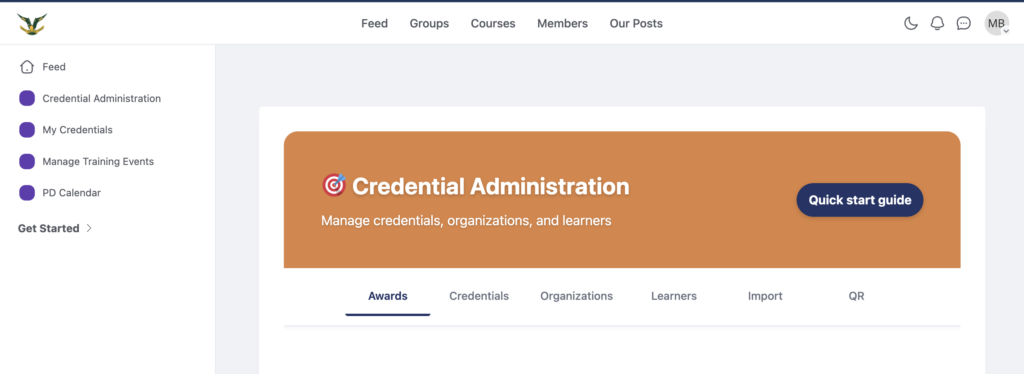
Your Credential Administrator Dashboard can be found here: https://drsd.k12leaders.com/credential-administration/
This credential platform brings credentialing, events, and attendance into one workflow so teams can define credentials once, issue them consistently, and tie learning experiences to verified awards. It helps administrators keep records clean across organizations, supports reliable audit trails for each award, and gives staff a clear view of what they earned through the user dashboard.
Where you will work
Use the Credential Manager for definitions and awards,
Events Manager for event setup and credential selection
Event Calendar for public viewing
User Dashboard to confirm what staff see once awards are issued.
Architecture overview
Organizations describe the issuer or host, credential definitions describe what is being earned, and credential awards record a specific person receiving a specific definition. Events connect to one credential definition, and the QR workflow uses that connection to issue awards based on attendance. People use their user accounts to receive awards and view them in the user dashboard. Administrators use the credential manager to define and issue, and the events manager to link events to definitions and to create QR codes.
Terms and definitions
- Organization: the issuer or host for credentials and events.
- Credential definition: the reusable description of a credential, including category, criteria, and verification method.
- Credential award: the record that a specific person earned a specific credential definition.
- Event: a scheduled activity that can be linked to a credential definition for attendance based awards.
- Person: an account that can receive awards and view them in the user dashboard.
- Administrator: a user with access to create definitions, issue awards, and manage events.
- User: a person who receives awards and views them in the user dashboard.
First setup
- Create organizations so issuers are available for selection.
- Create credential definitions for each credential you intend to issue.
- Create or import personnel so people exist with accounts.
- Issue awards manually or import awards as needed.
Create credential definitions
Open the credential manager and add a definition with a clear title, description, category, and status. Add criteria, duration, verification type, keywords, and issuing organization if you have them. Save and confirm the definition appears in the definition list.
Issue awards
Issue awards from the credential manager by selecting a definition, choosing a person, and entering the award dates and issuer name. Save and confirm the award appears in the awards list and in the user dashboard.
Create events and connect credentials
Open the events manager and create an event. Select the credential definition for that event using the credential picker, then save the event. After the definition is saved to the event, generate a QR code for attendance. The QR workflow uses the saved definition so scans can create awards tied to that definition.
Review what users see
Open the user dashboard for a staff member to confirm the award appears with the correct definition, issuer, and dates. Use the event calendar to confirm the event details and the events manager to confirm the saved credential selection and QR status.
Common setup checks
- Confirm organizations exist before definitions that reference them.
- Confirm definitions exist before events that select them.
- Confirm people exist before issuing awards.
- When you import awards for people created by the personnel import, use the .test email created by that import.